
Removing old, old nails

Lots of nails to remove

The sawmill begins work on our old grody beams

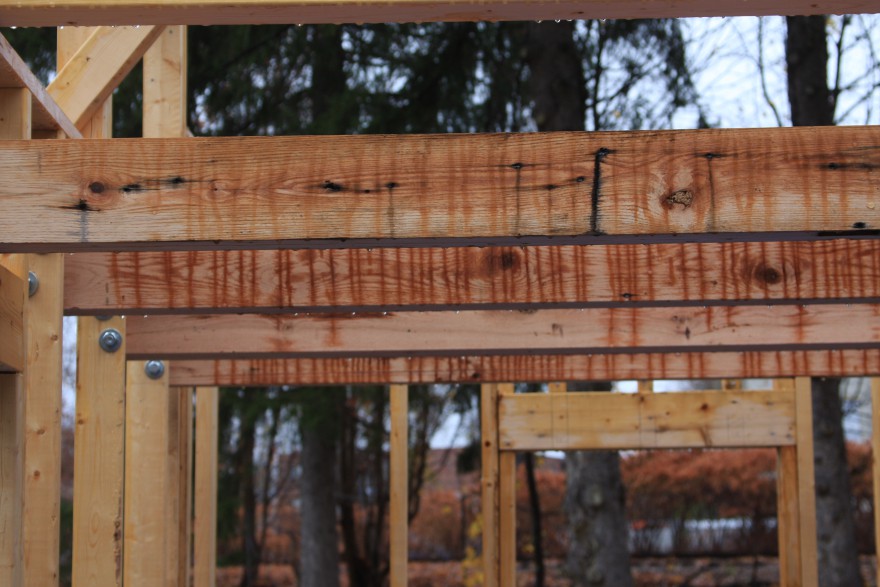
Turning our beams into beautiful new beams

The sawmill’s a pretty cool toy

Some of the wood grain

Planing the beams to have a smooth surface
Craigslist has been a good friend to us. We’ve spent hours poking around the different Craigslist sites for the region. First it was lumber, then plywood, then cabinetry, windows, and finally beams. Sometimes it was a stroll through the Materials tab to see what was available, just in general. And the more we see on Craigslist, the more our hearts grow with the thought of making this home, all of this home, by hand.
I don’t know what it is. No, scratch that. I know what it is. It’s the feeling of accomplishment, and of being able to point to something and say, “I know exactly where that comes from. I know how long it took to make. I remember researching how to install it, and I remember putting in the nails. Here’s the finish we used.” Seth has been leading this charge, I think because of his work as a CSA farmer, which is the ultimate in showing where something came from and how it grew. And so when it came time to put in the first wood in the house that would be visible (vs. being enclosed by walls), it was only natural that we said to each other, “Wouldn’t it be great if we used old, reclaimed wood from some historic house somewhere?”
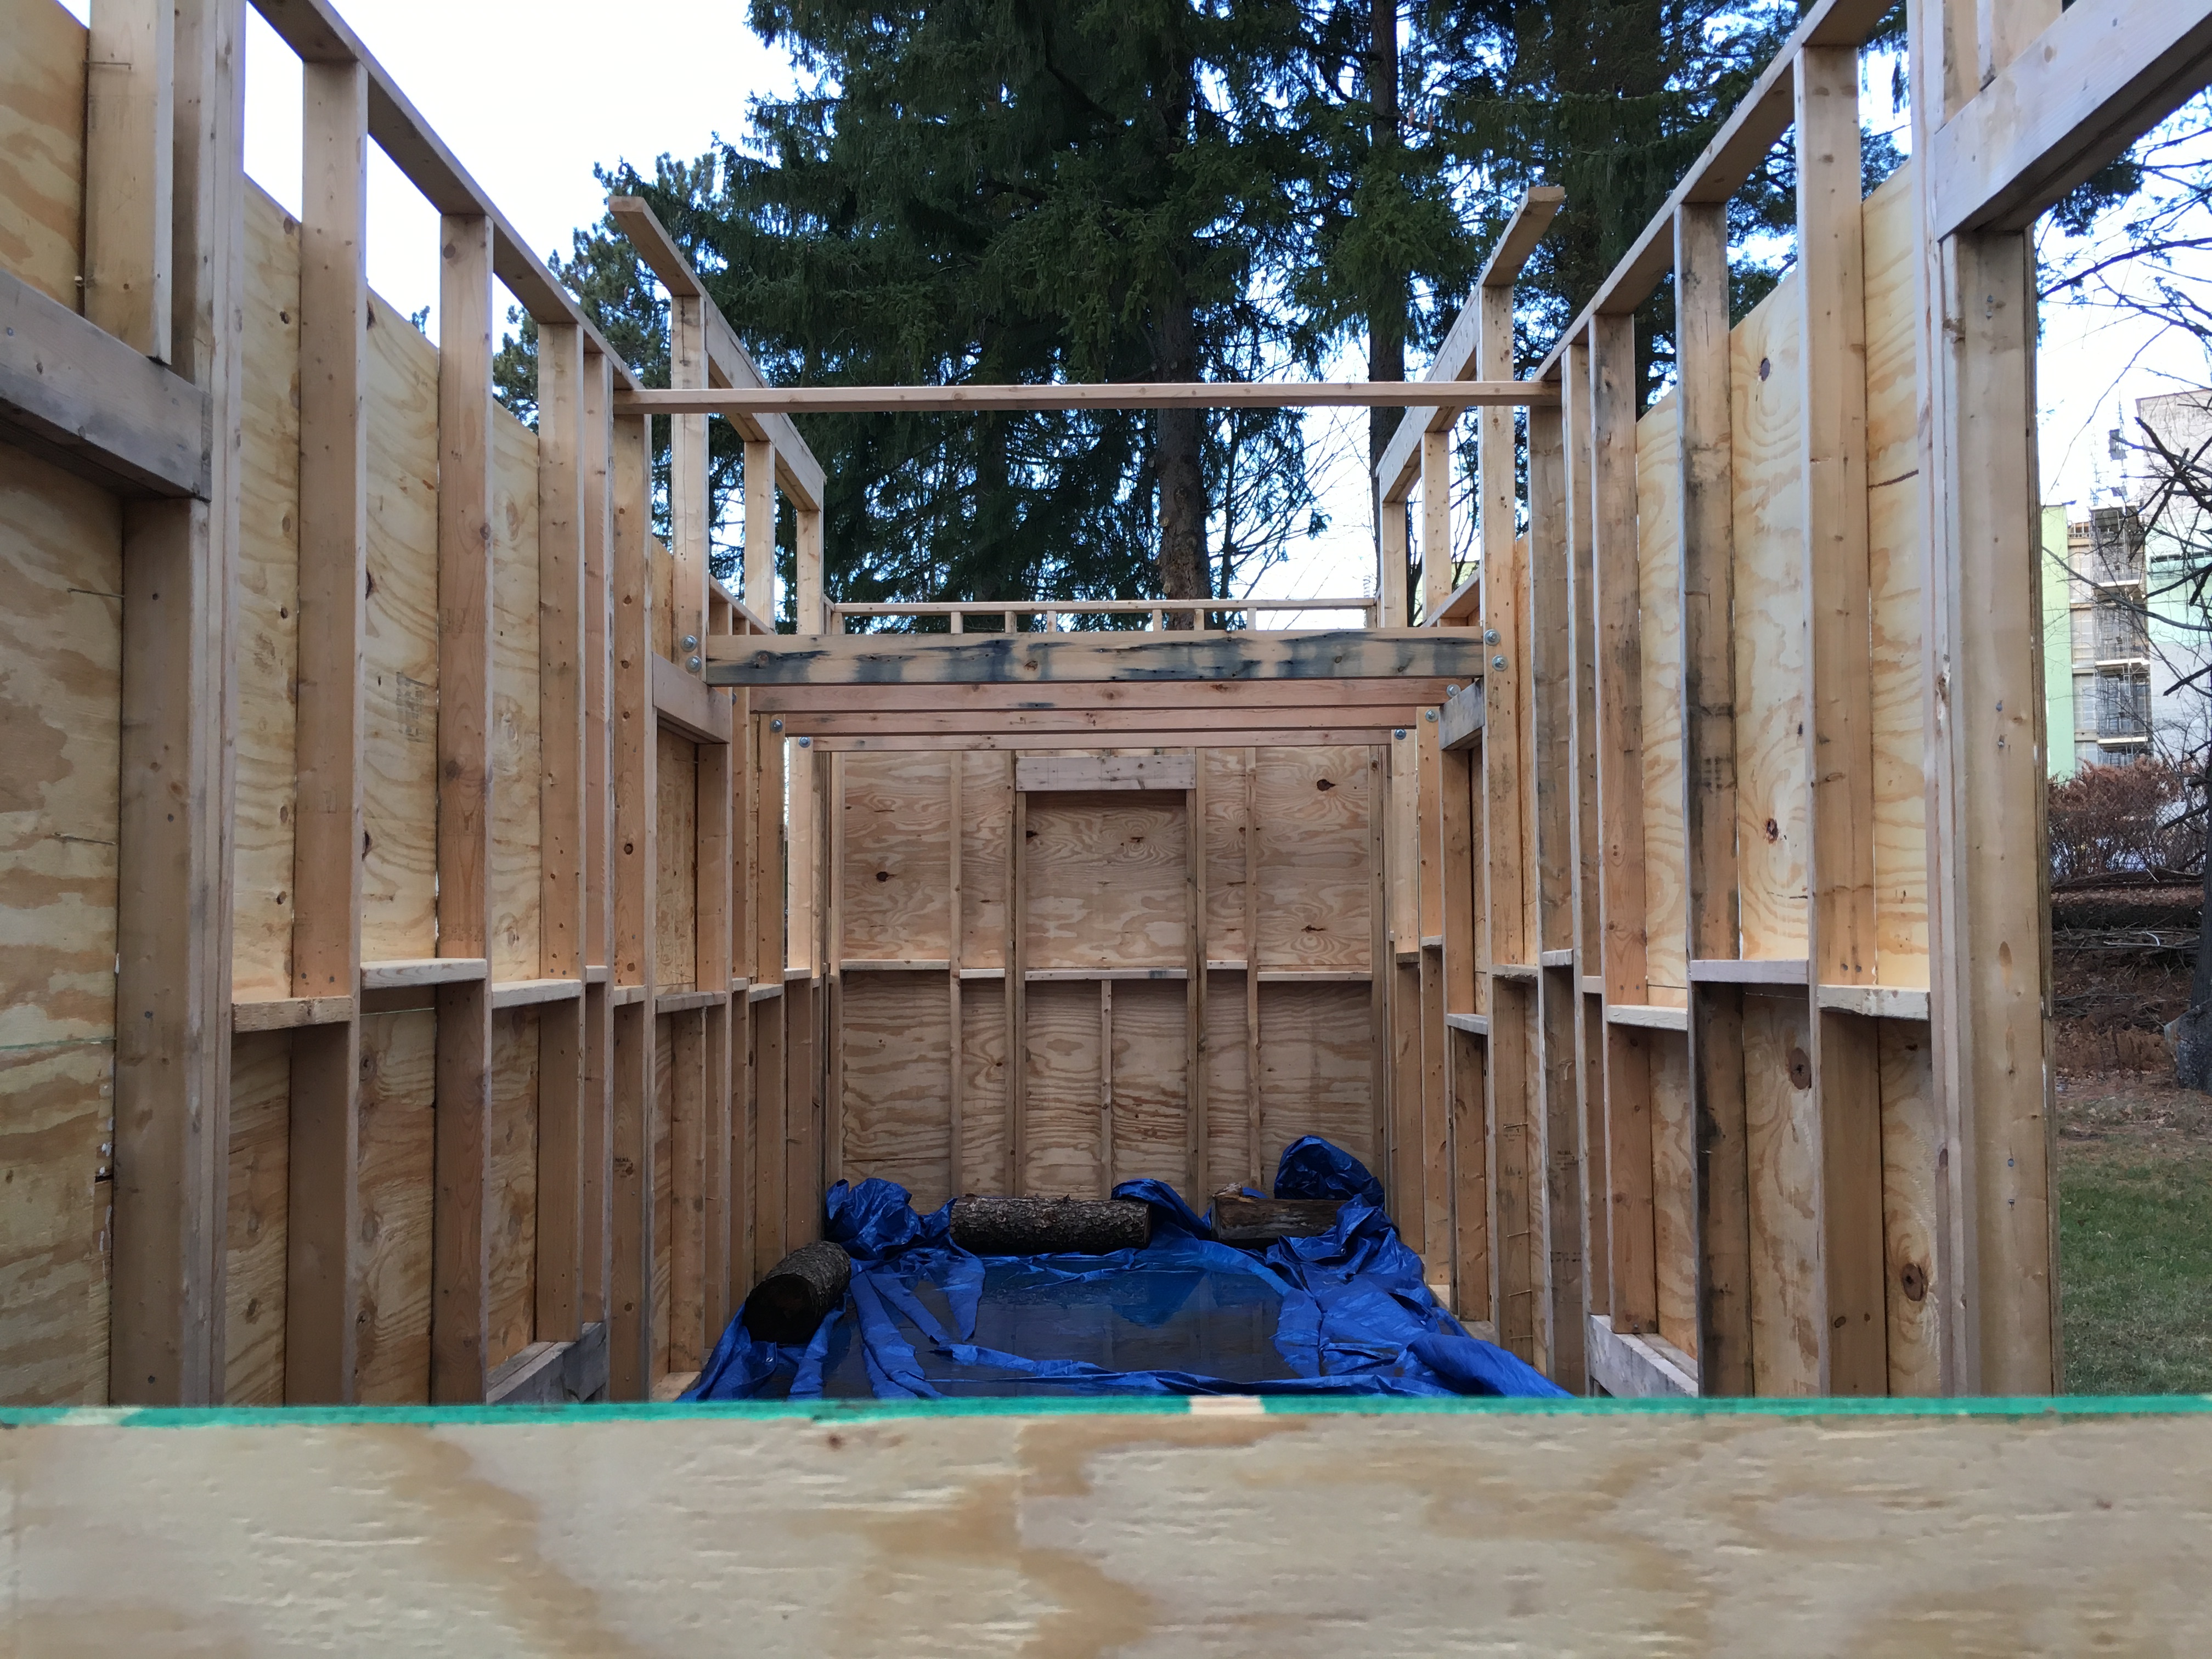
The wood I’m talking about is for the exposed 4″ x 6″ beams that support our kitchen loft. Craigslist showed us half a dozen entries with old, reclaimed beams. Some were from modern houses going for a new look, some were from old, old houses being torn down, and some were somewhere in between. We lucked out and read about a 1792 house in Rhode Island that the owner decided to deconstruct. His listing described American Chestnut beams.
Hold the phones! American Chestnut used to be one of the most common trees on this side of the Mississippi. That is, before it was decimated by blight brought over with chestnut trees from Japan in the early 1900s. There are no living stands of American Chestnut. The wood is almost impossible to find. Which means, of course, that we had to have it. And so one crisp evening after a full day of farming, Seth drove a borrowed truck down to Rhode Island and loaded up seven axe-hewn beams.
It took us four weeks to schedule the beam pickup, remove the nails from the beams, attempt to saw them on our own table saw (and fail), and finally break down and hire a portable sawmill to re-saw the beams into manageable sizes in our own driveway. When I described this process to some of my contractor friends at work, they said, “You know, 4″ x 6″ beams are really cheap at Home Depot. You should just buy those and slap some stain on them.”
I could have responded with the long answer, but I think I shrugged and said, “Aesthetics, you know?” And they nodded. But the long answer is this: We want to be able to say we made every bit of this home with materials we want, going for the look we want, and hang the time frame. It’s important for us to know each part of this house, know it in the way that painters know each brush stroke and dancers know each muscle. We’re not building just a house; we’re building our home.


