
 Because we bought a trailer that is just a frame with wheels, we had to perform some alterations to ready the foundation of our house before we can build on it. Namely, we had to install flashing on the underside of the trailer. The flashing protects the insulation, which we will be laying directly into the trailer frame, as well as the sub-floor, which will go over it. Flashing makes the house road-worthy. No sense in making a beautiful house if the floor is going to rot out from under your feet.
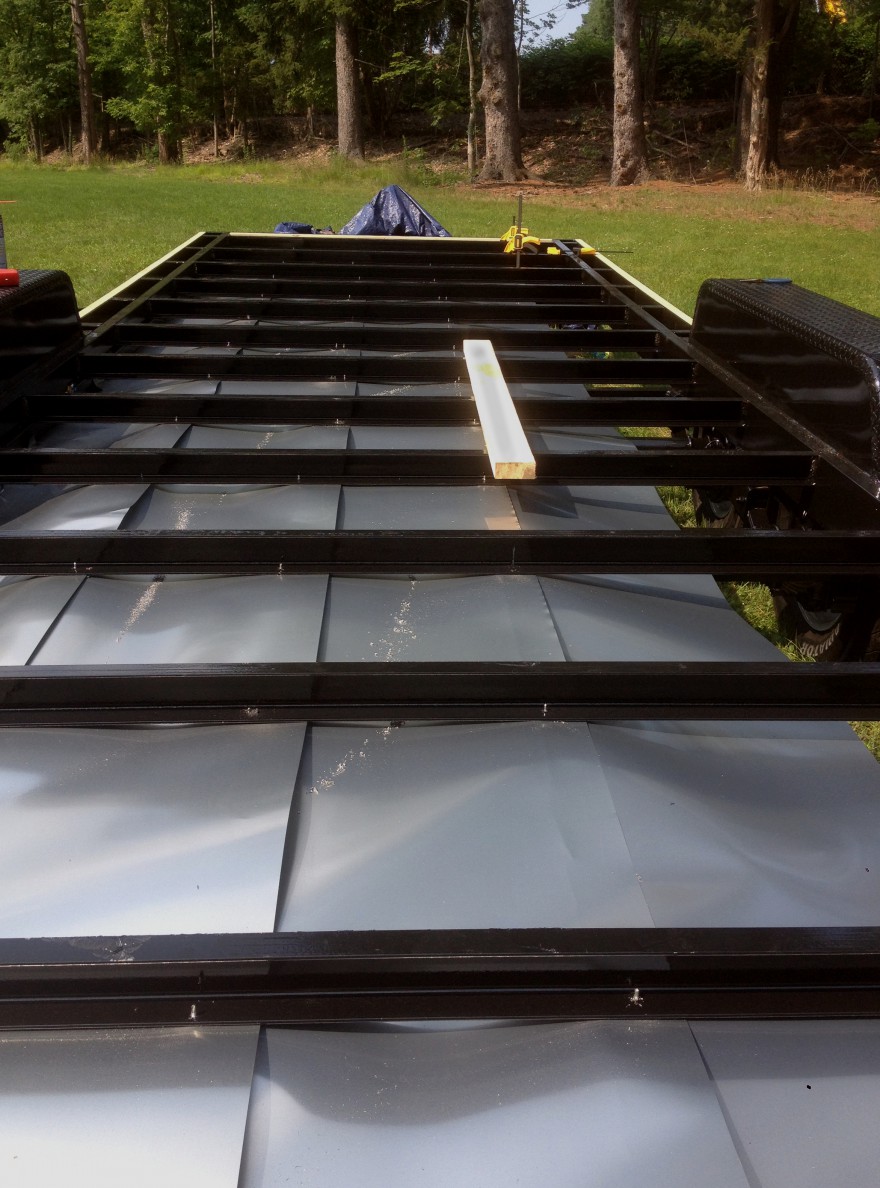
In addition to installing flashing, we added a 2×4 “nailer” to each side of the trailer. See, our trailer’s width extensions are not made of thick enough metal to support a piece of dimensional lumber — at least not comfortably. We also needed a way to attach the walls to the trailer along the outside edge. The nailer fits the bill for both jobs.
Seth did most of the nailer and flashing work over several days. I think our trailer steel is made out of adamantium, because it takes a large amount of arm strength, patience, and screws from a place that is not Home Depot to drill through the trailer.
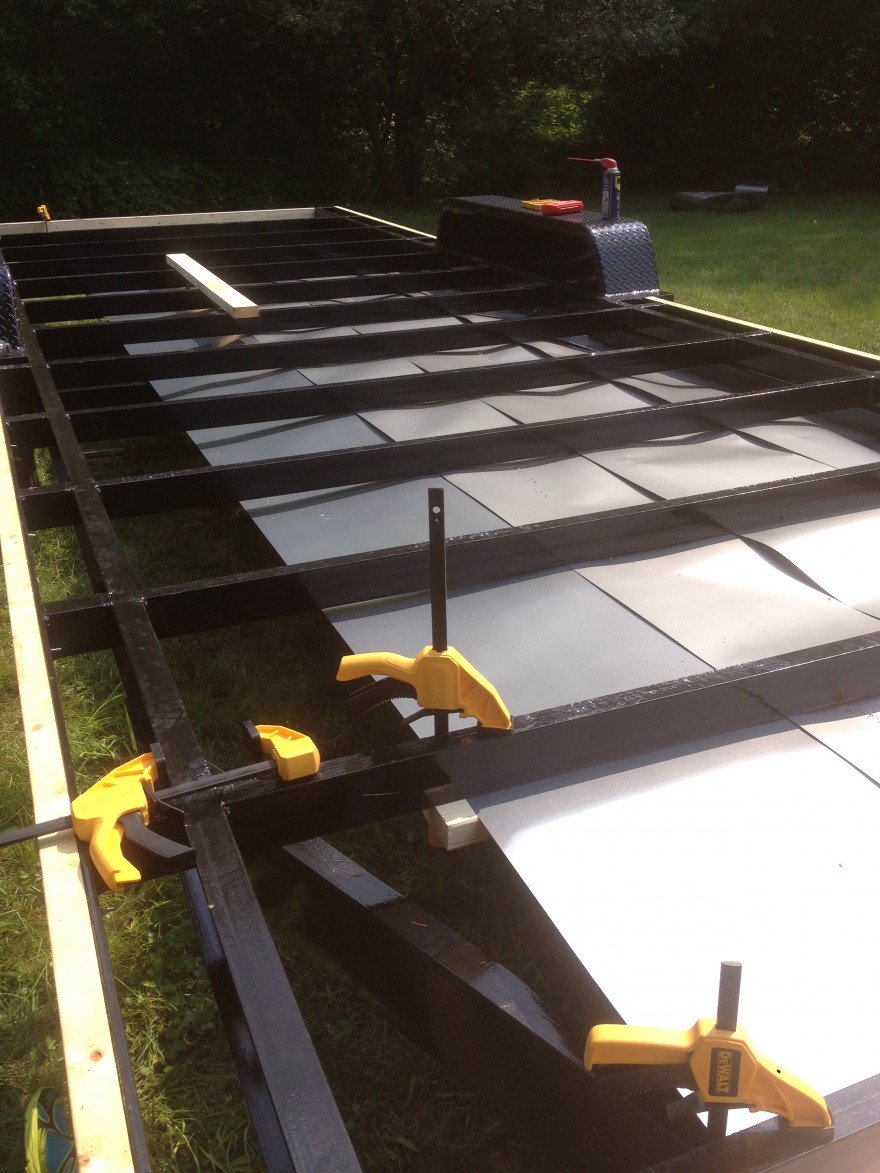
After a while we got into a rhythm. First we positioned the flashing on the underside of the trailer, overlapping the next piece of flashing by about 3″, and held it in place with quick grip clamps.

Then someone would get under the trailer and drill a pilot hole through the trailer cross members while another person holds things tight.

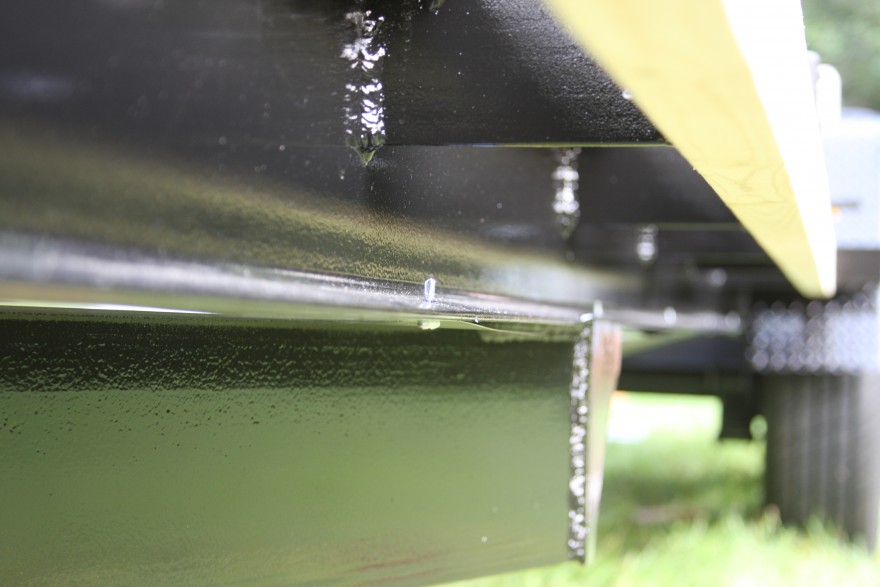
Then finally, we used a hardened steel, self-tapping screw to attach the flashing. (Don’t buy your screws from a big box store, they will snap when they engage with the metal. Ask me how I know.)
We used aluminum roof flashing, purchased in 20″ x 50′ rolls. In theory, overlapping the seams by 3″ will allow any water that finds its way in to migrate out. If I’ve learned anything from my job, it’s that water will always find a way in no matter how well you seal everything, so you might as well give the water an exit path. But even as I say that, we’re thinking about taping up some of the seams to make it less likely that road grime will make it into our subfloor while we travel.
A couple of notes: first, drilling through a trailer is hot, hard work. Have some oil on hand to lubricate the drill bit as you’re drilling a pilot hole and your drill bit will last longer. Also, wear protective eye gear and maybe long sleeves while you’re drilling because those metal filings are hot when they drop on you. And that being said, keep your mouth shut while drilling.
Put something between your flashing and your trailer because dissimilar metals that are touching each other will corrode over time. We’re hopeful that our trailer paint will do a decent job at protecting the aluminum flashing from the steel trailer, but we’ll have to keep an eye out to see what’s going on down there, especially as we travel and water works its way into everything.
And finally, we consulted Andrew and Gabriella Morrison’s Tiny House Build DVDs for advice on how to complete this project. Super helpful and thorough!
Shout-out to our friends Andrew and Justin, who were integral for this project. Working on the house is nice, but working on the house with friends is a party. A tame party. Where everyone is tired at the end.

I’m getting an education here, maybe schooled is a better way to say it.
We’d like to visit the farm one day soon. Isaac and I can serve as entertainment one day but unless you have an Elmo drill I don’t think we’ll be super helpful. He looooooves uncle Seth so he may be a good kid to serve lunch of something. 🙂