Greenhouse tomatoes, with lettuces beyond

Meadow sage flowers in the remembrance garden
As part of our continuing quest to prep ourselves for the farm in our future, Seth and I will be visiting farms that use sustainable practices and writing profiles of the farms and farmers. In a lot of cases that will mean organic farming, but there are other methods out there like crop rotation, no-till planting, companion planting, and more that we’re dying to learn. Good thing farm folk are friendly! I’ve never met a farmer who wasn’t willing to share as much information as we wanted.
Our first stop on this Earth-friendly agriculture journey is with Stearns Farm in Framingham, Massachusetts, which is the farm where Seth works as an Assistant Grower.
When Seth first began hunting for a farm job, he looked specifically at organic farms so he could learn the basics of growing food without synthetic pesticides and fertilizers. No surprise there, with our history. Thankfully, Seth found Stearns, an organic vegetable farm that grows on four acres.
Stearns is a little different from most farms in the area. For starters, they grow vegetables without USDA organic certification. Other farms are either certified organic or use pesticides, but Stearns opts out of that dichotomy. The reason that Stearns — and many small farms — didn’t get organic certification is because it costs a lot of of money and time, and on a small farm those resources are needed elsewhere. However, the farmers at Stearns are committed to environment health so they use organic practices, and they welcome all of their their clients to the farm to see for themselves how the crops are grown. This is one reason why it’s good to know your farmer! You know where your food is coming from.

One perfect strawberry

Looking down the main path toward the greenhouses
Stearns was incorporated in 1994 as a nonprofit organization, but prior to that it had been worked as farmland since 1723, and possibly earlier! Stearns is a community-supported agriculture (CSA) farm, which means that anyone who wants vegetables buys in at the start of the season, and then picks up their vegetables every week once harvests start. And here’s what else makes Stearns unique: People who buy shares are asked to work 12 hours in the field throughout the course of the season, as well as picking certain labor-intensive crops like berries or beans on share pickup days. Stearns is one of the only farms in the area where you do farmwork for your vegetables, and it’s a huge draw. People love to come to the farm and spend time planting seedlings or harvesting squash, or any myriad of tasks that come with farming. It’s a good way to connect with your food.
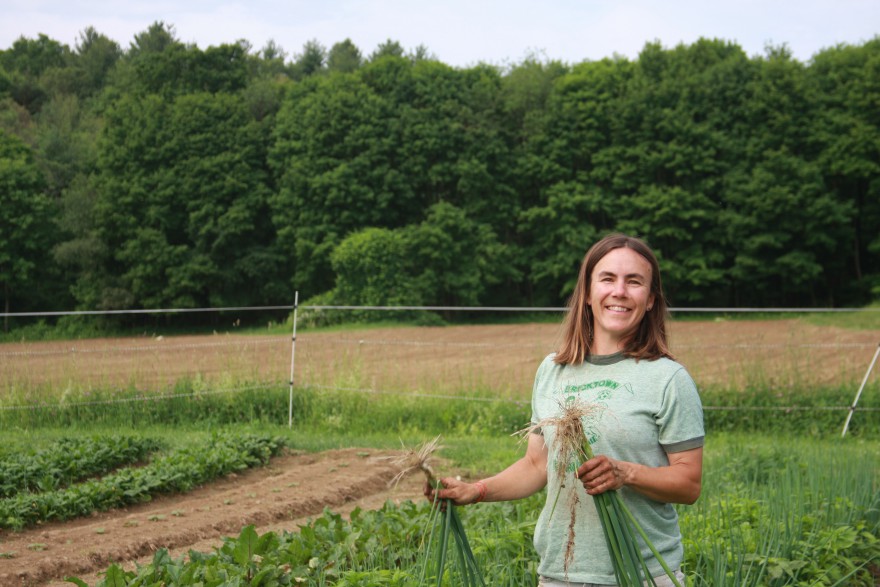
Susan Peters, Farm Manager
Stearns grows vegetables and fruit under the tutelage of Farm Manager Susan Peters. Susan is in her third year with Stearns, and previously began farming in Vermont in 2005. She knows just about everything I want to know about farming, and she’s got a wicked sense of humor to boot. I love hanging out with her on the farm (and by “hanging out,” I mean, “weeding together while picking her brain”). She always seems to have a sense of the weather, what needs to get in the ground, and how many people-hours it will take. Susan is a large part of why Stearns is successful. She connects with the CSA sharers so naturally, I’m amazed that this isn’t her own land and she hasn’t been doing this all her life.
I asked Susan once why she switched from being a librarian to being a farmer. Susan grinned at me and said, “Because I realized I didn’t want to spend any more time indoors.” Amen, sister.
The third staff member of the Stearns farming team is Kenneth Hacker, the Assistant Farm Manager. Kenneth has an infectious love of all things food and farming, and is very busy this season. I only see him at lunchtime when I’m there. He waves to me as he rides by on the tractor though, so we’re good.
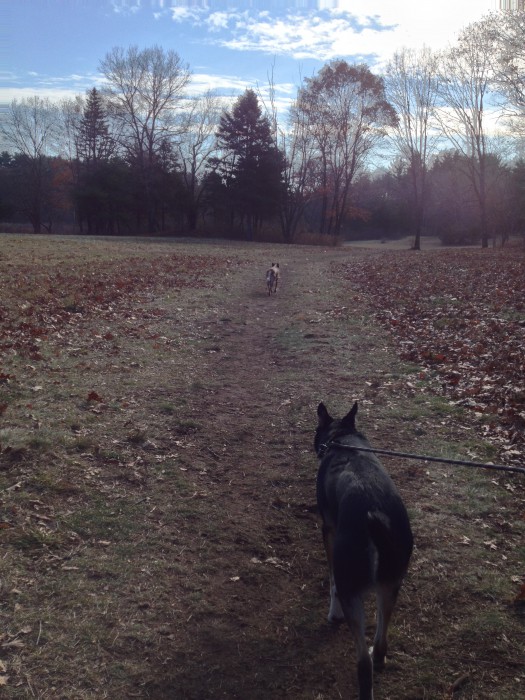
And of course, Lily the dog serves as the official greeter of farm guests. She also patrols the fields for pests like rabbits and groundhogs, and acts as a general deterrent for deer and birds. We’re able to send Lily to the farm with Seth every day because Lily takes care to walk in between the rows and poop in the woods instead of in the fields.

Looking out over greens to the field tomatoes
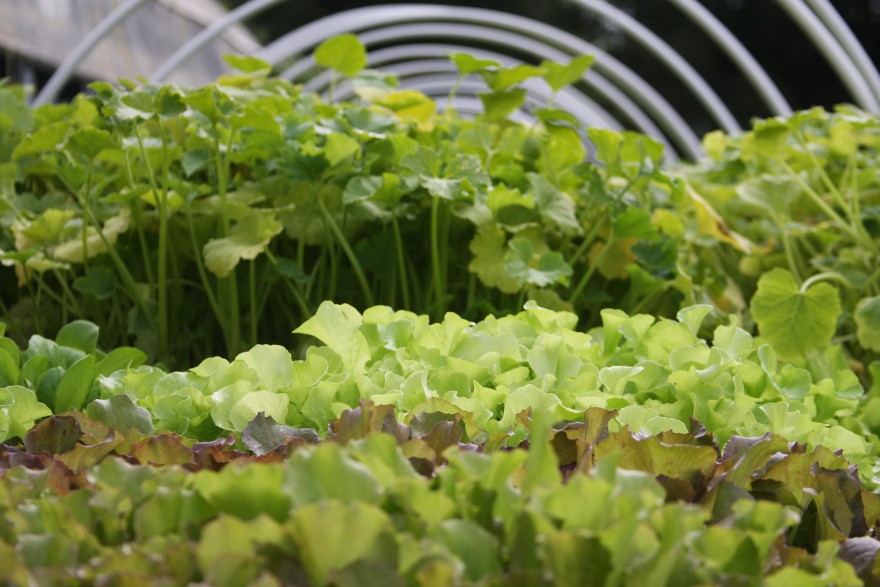
Lettuce and cilantro seedlings
Susan, Kenneth, and Seth know that farming is a balance. You need good soil, and you need good people. On a piece of land that has been farmed as long as Stearns, it’s important to maintain fertility for the long haul. The farmers use cover cropping in the winter, which means planting a crop of rye grass, hairy vetch, or winter peas in late fall, and then turning that crop back into the soil in the spring. This serves a twofold purpose. It prevents snow and rain from washing away the rich topsoil, and also fixes nutrients back into the soil. Besides that, the farmers soak every seedling in a fish fertilizer emulsion before planting. Fish fertilizer is fermented ground fish mixed with water, and it gives the seedlings a huge boost. And finally, the farmers lay down drip irrigation every year, which prevents soil runoff by delivering water only where it’s needed.
The other half of farming at Stearns is good people. Over the past two years, Seth and I have come to realize that Stearns Farm is a booming CSA because they cultivate community along every step of the way. They train their CSA sharers to look beyond imperfections, to take part in the process of growing foodstuffs, and to think even a tiny bit more like a farmer. It’s not just picking up your vegetables and running out again like at a grocery store, it’s participating in how the food gets to your plate. It’s appreciating that your lettuce was alive and growing that morning, or getting dirt under your fingernails. It’s people who care a great deal about what they’re growing for you. And that kind of enthusiasm is contagious.∗

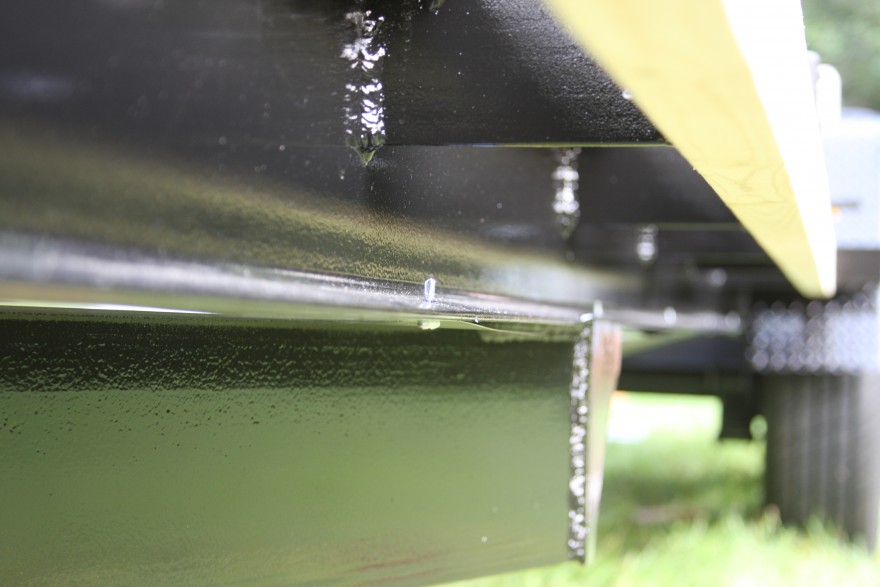
 Thankfully, the picture looks a lot worse than the actual damage. When all was said and done, a 4 foot piece of flashing had to be cut away and replaced, taking a little more than an hour to fix.
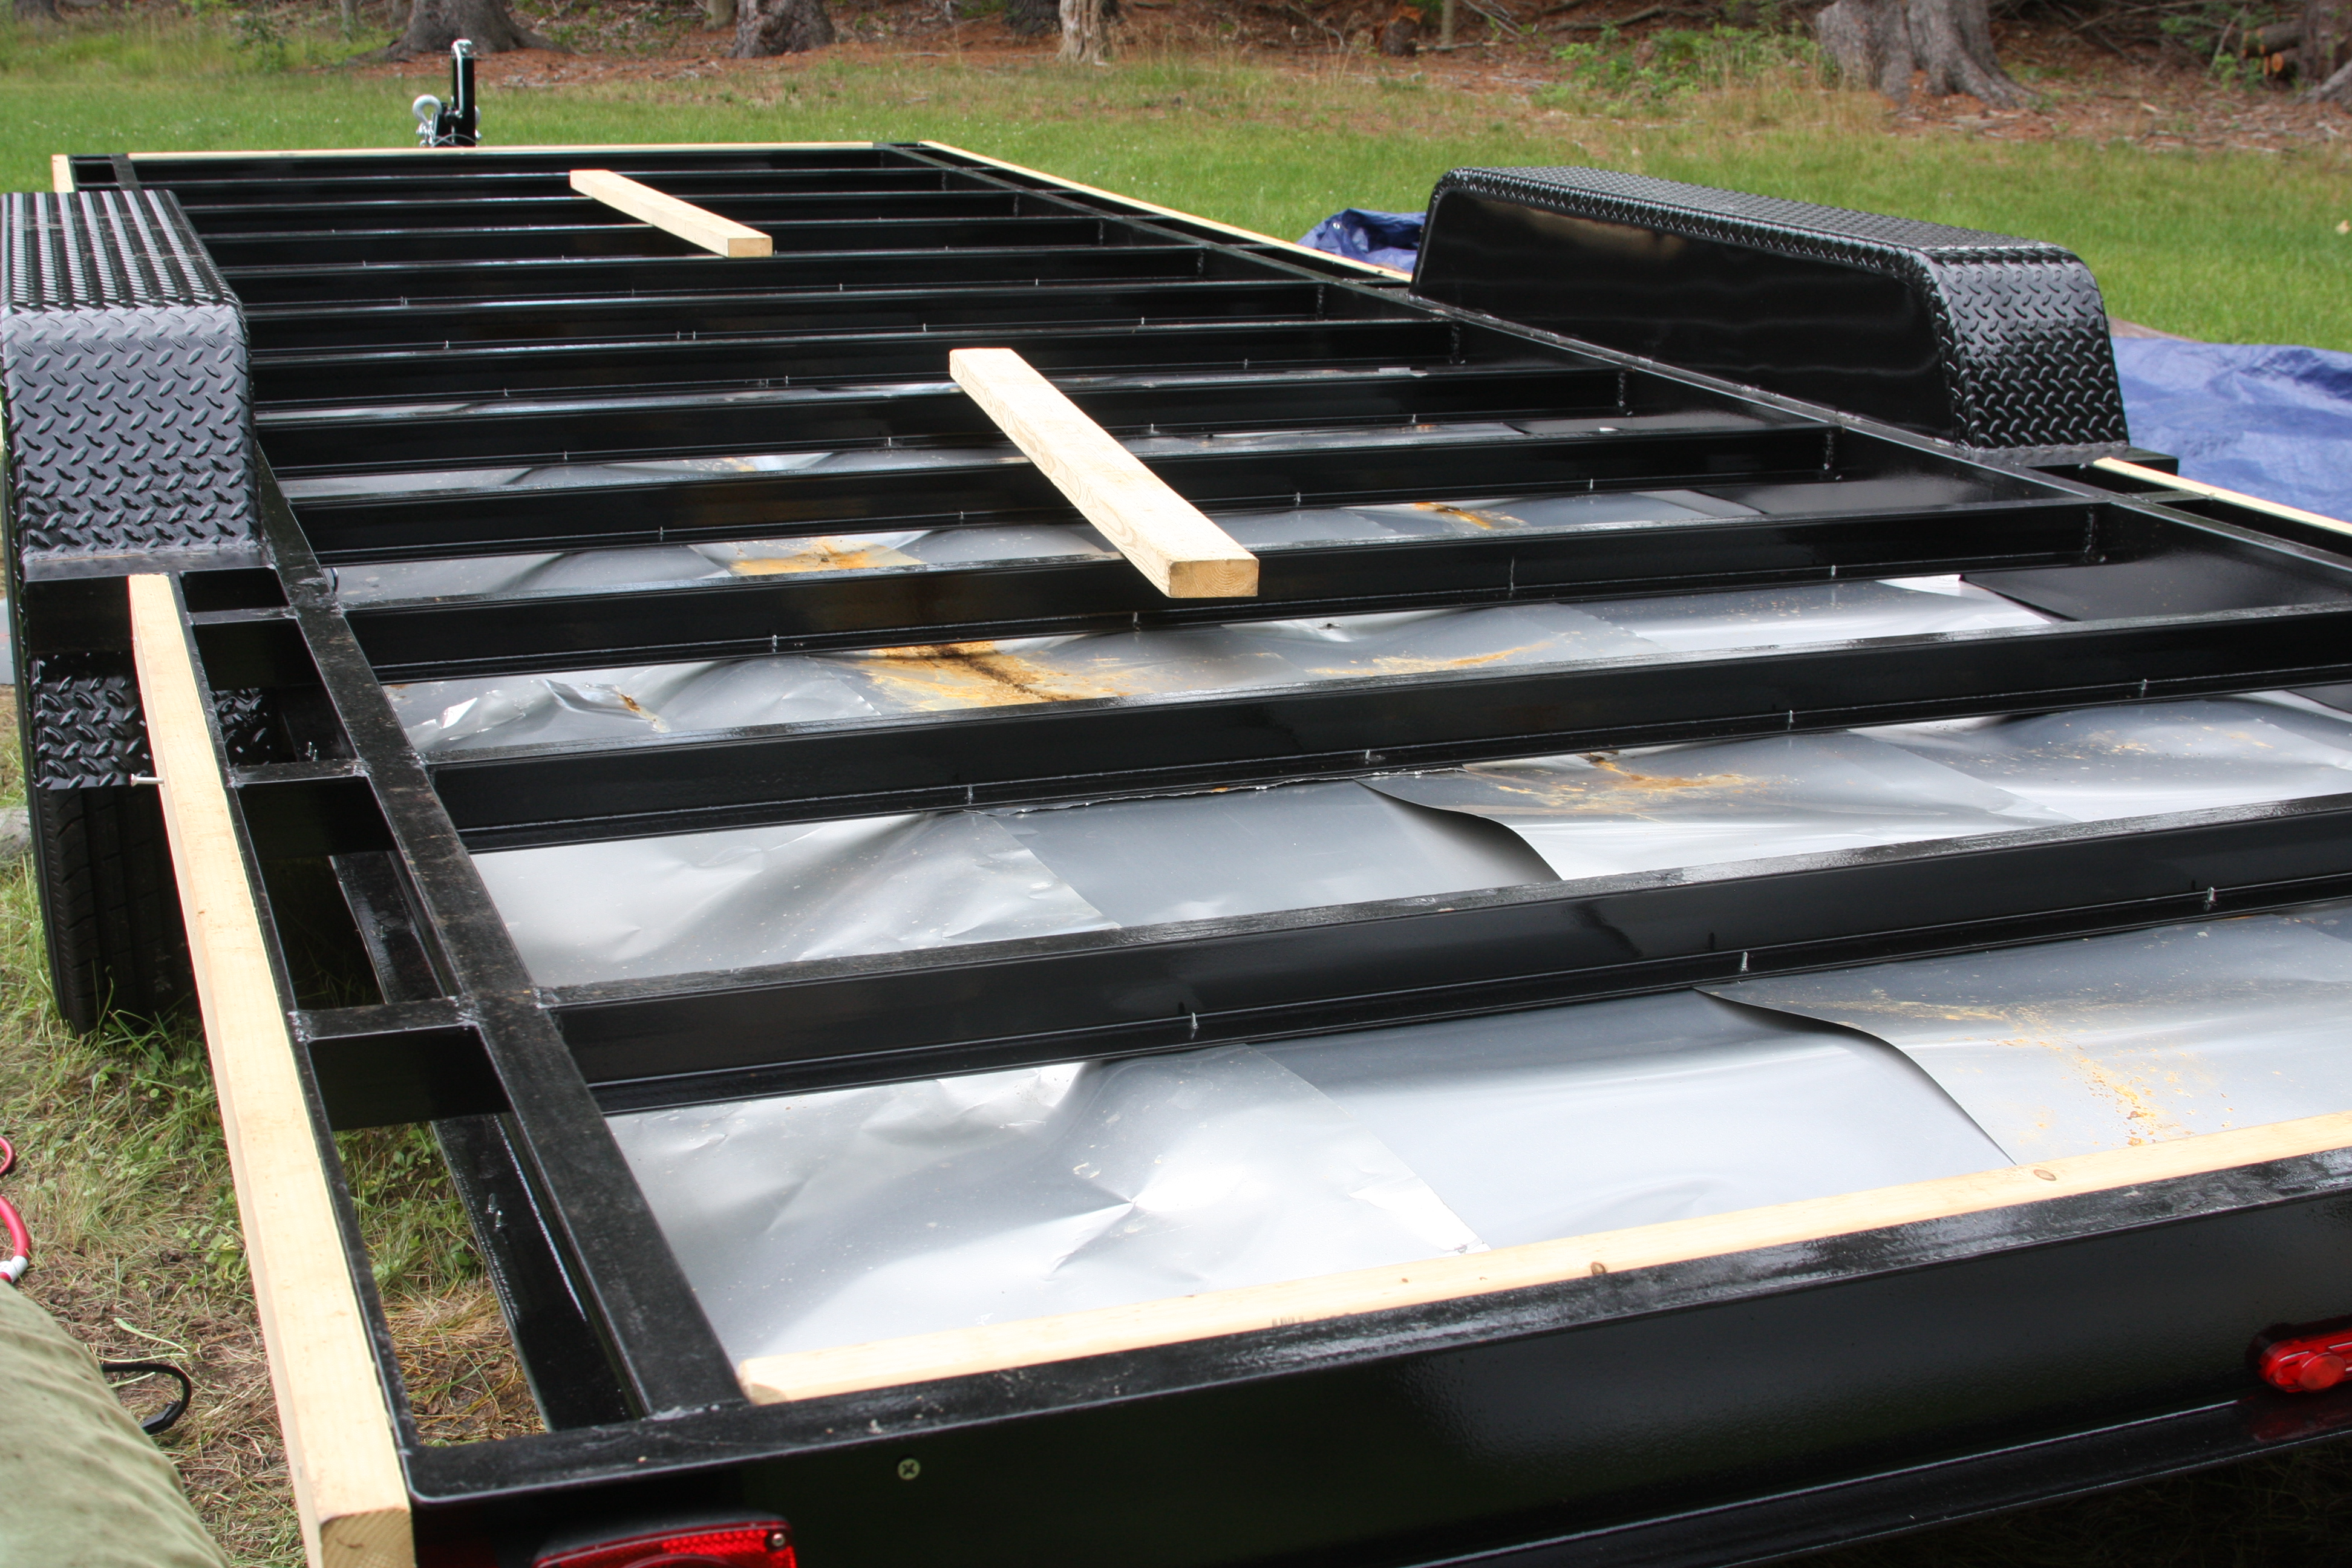
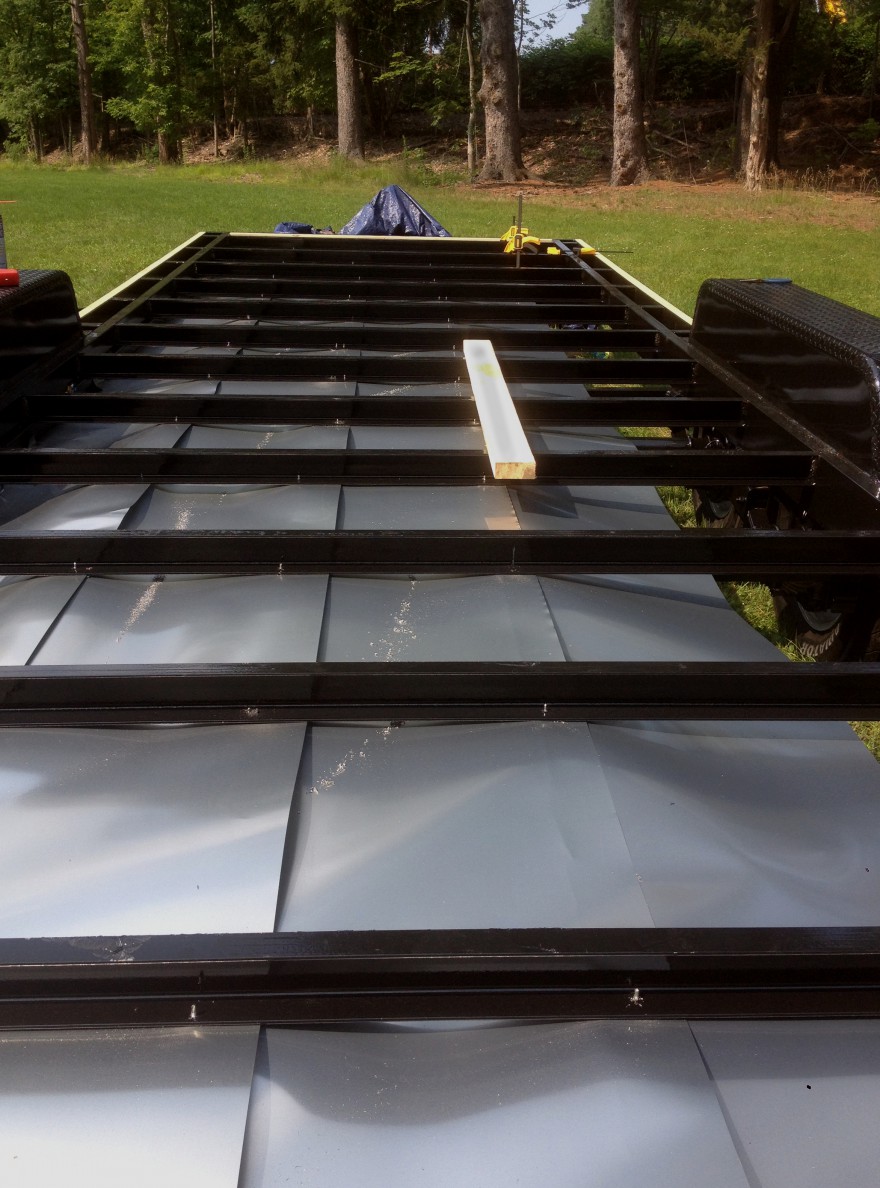
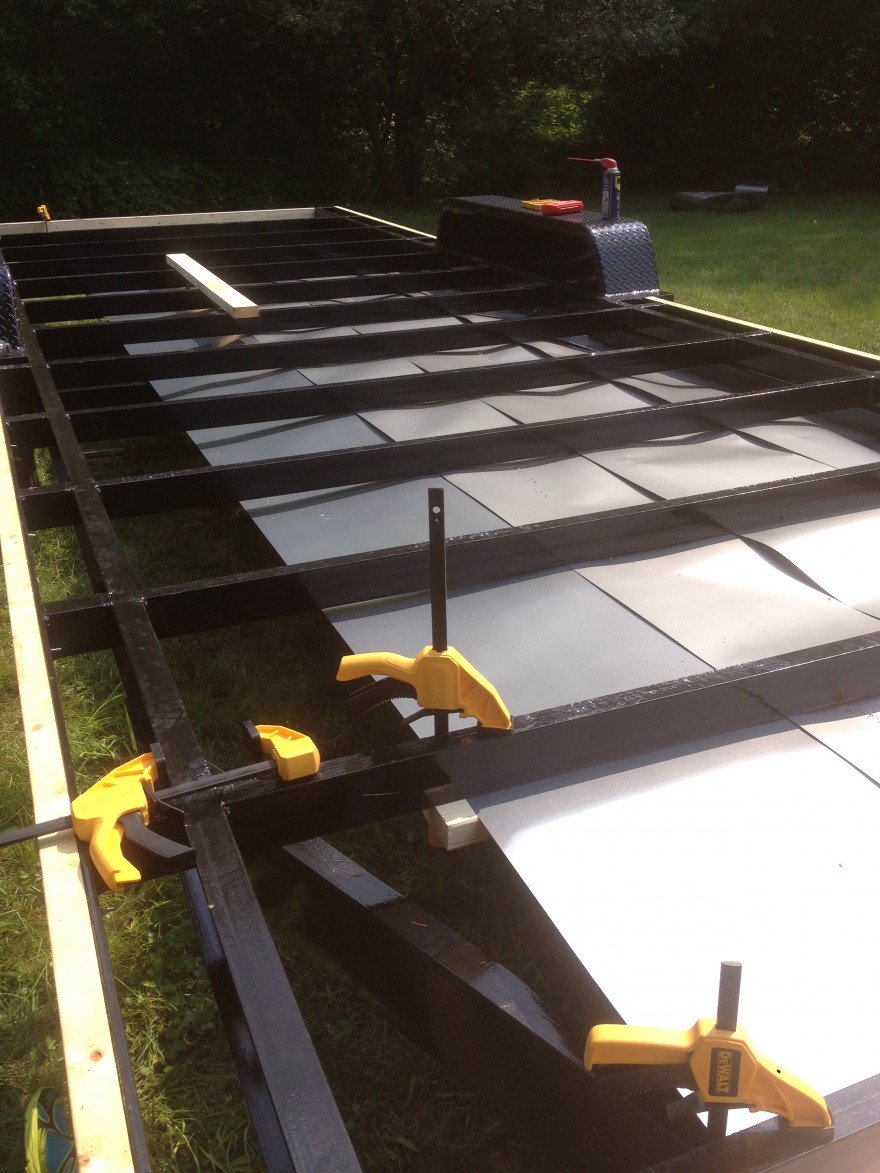
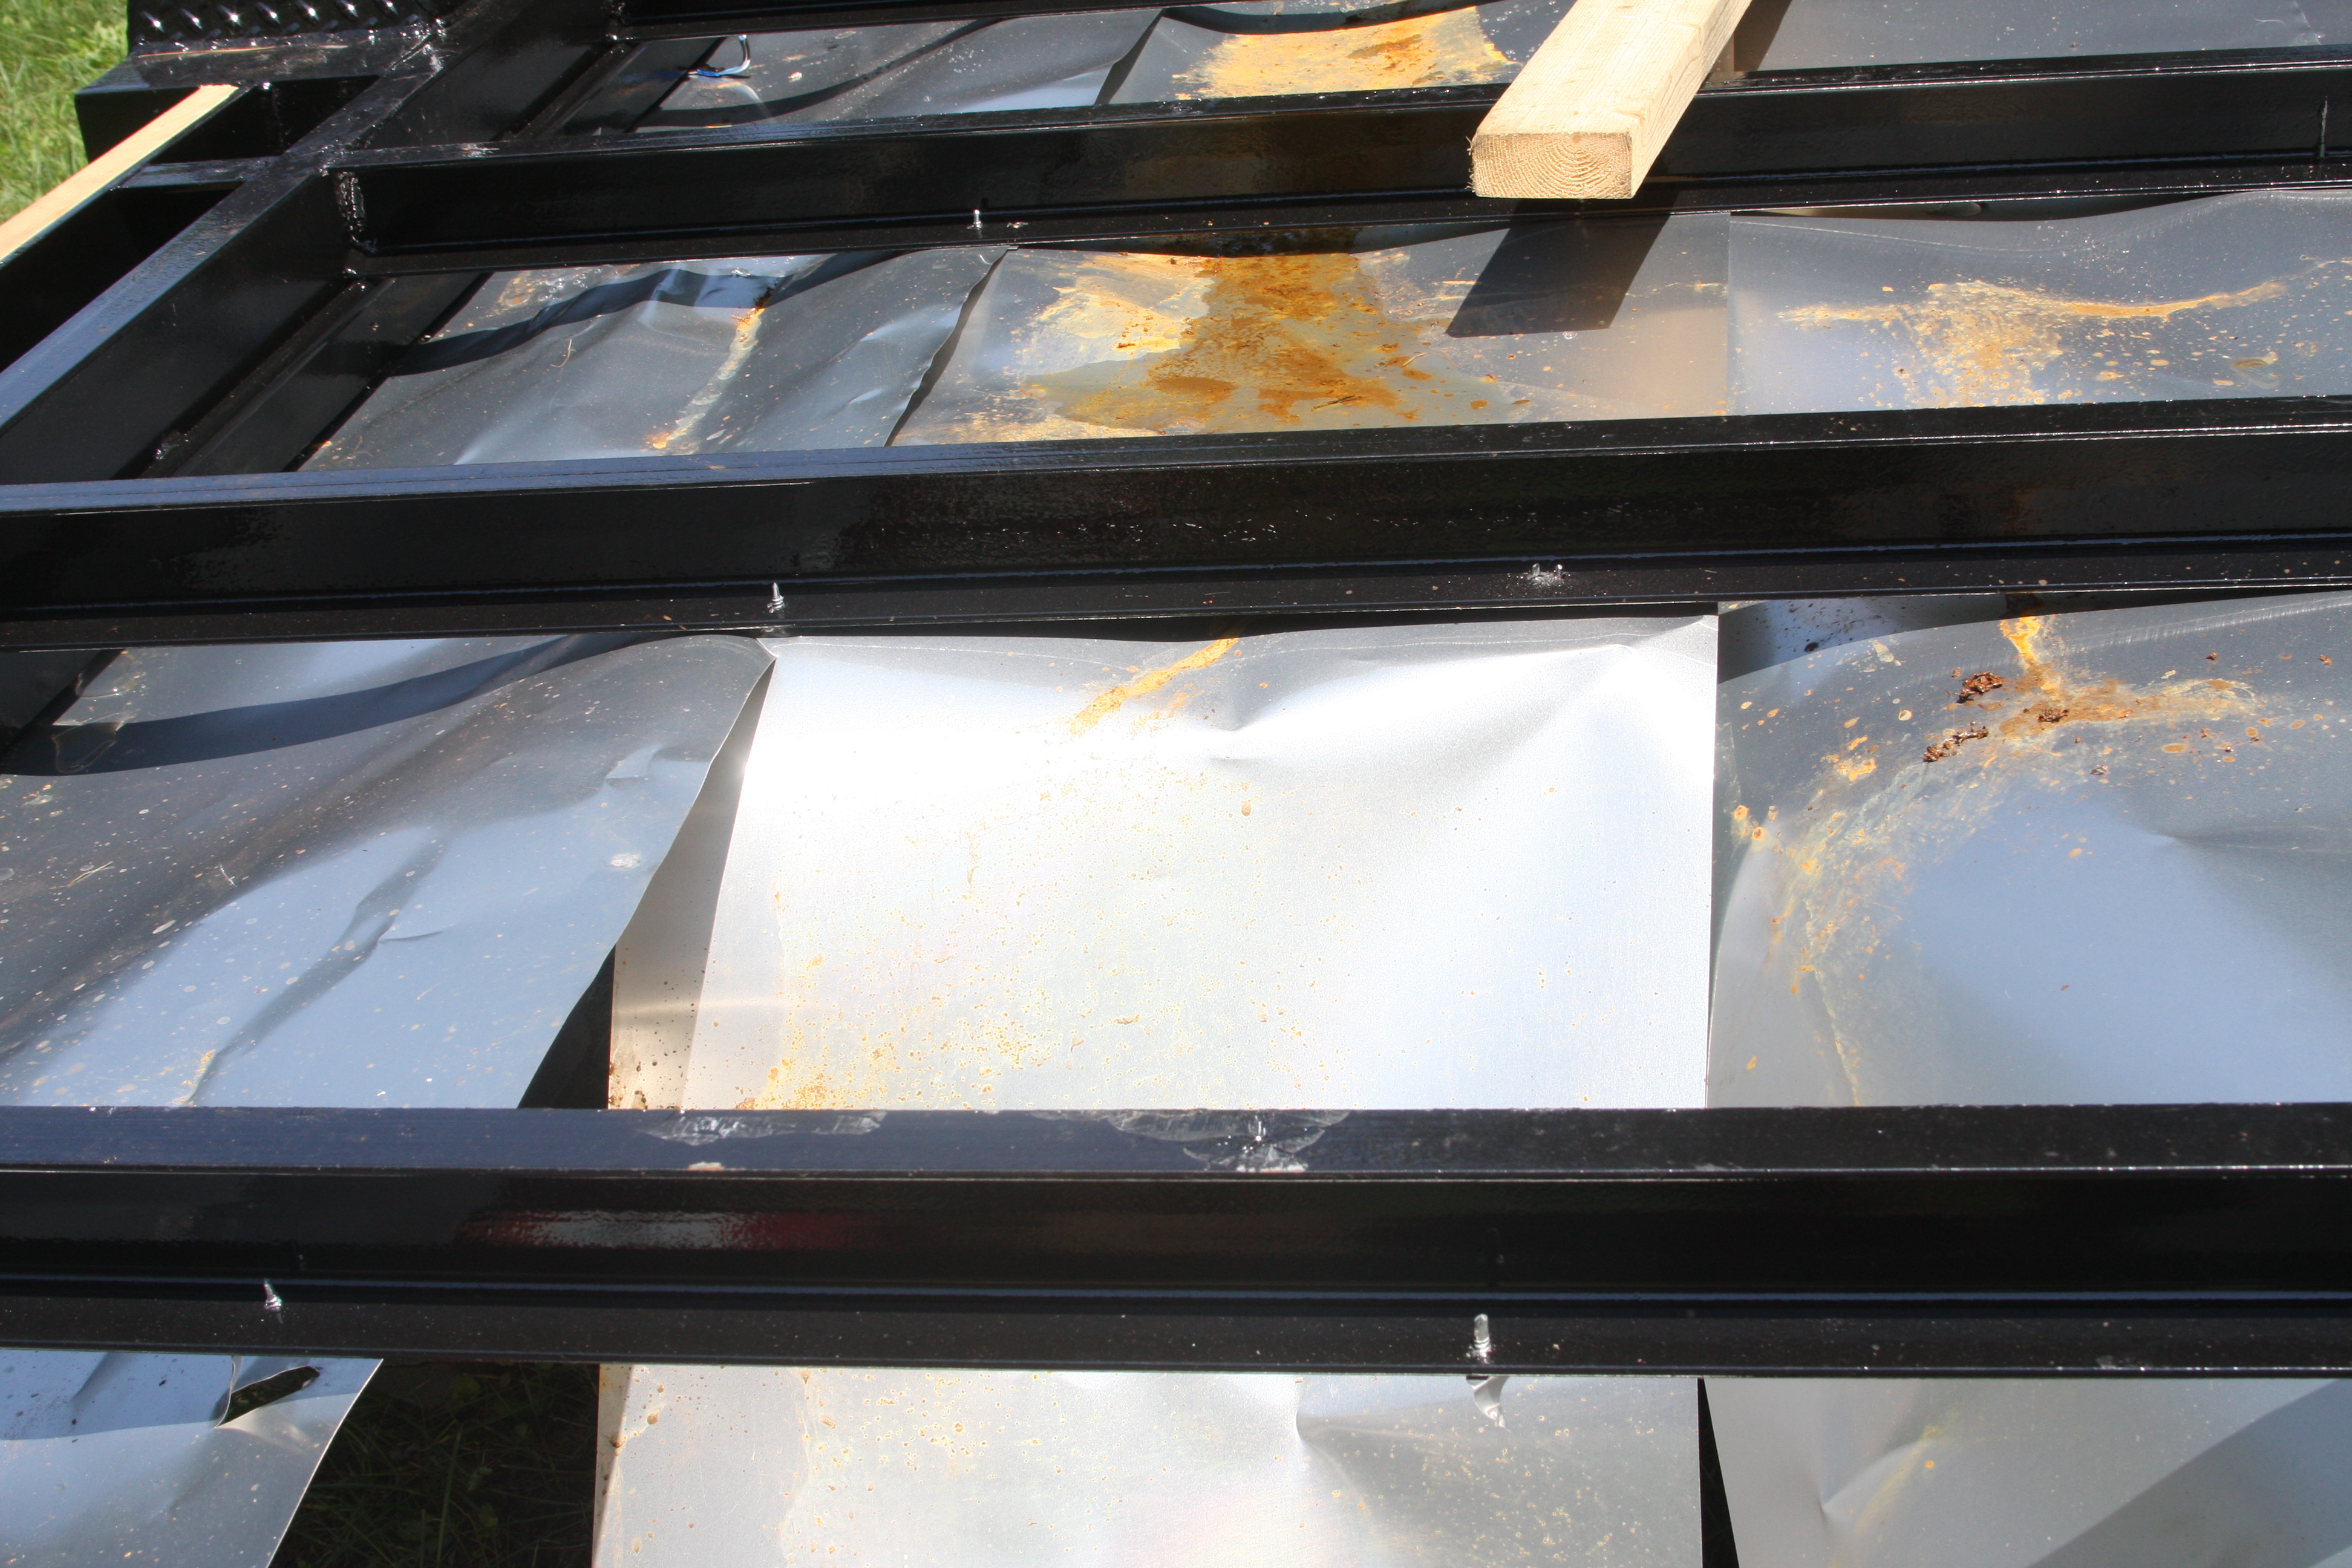
 Once we made the repair, we decided to be more cautious with the flashing. You can see that it sort of fish-mouths in places. It gapes, leaving openings where water can get in from splash-back as we drive. The reason it does this is because it’s difficult to pull the aluminum roll taut across the 24 foot length of the trailer, despite our efforts with friends and grip clamps. Other tiny house builders make installing flashing look easy, but since Seth and I have the sneaking suspicion that we live in a sitcom, it came out lumpy for us. Of course it’s lumpy! It couldn’t be anything else.
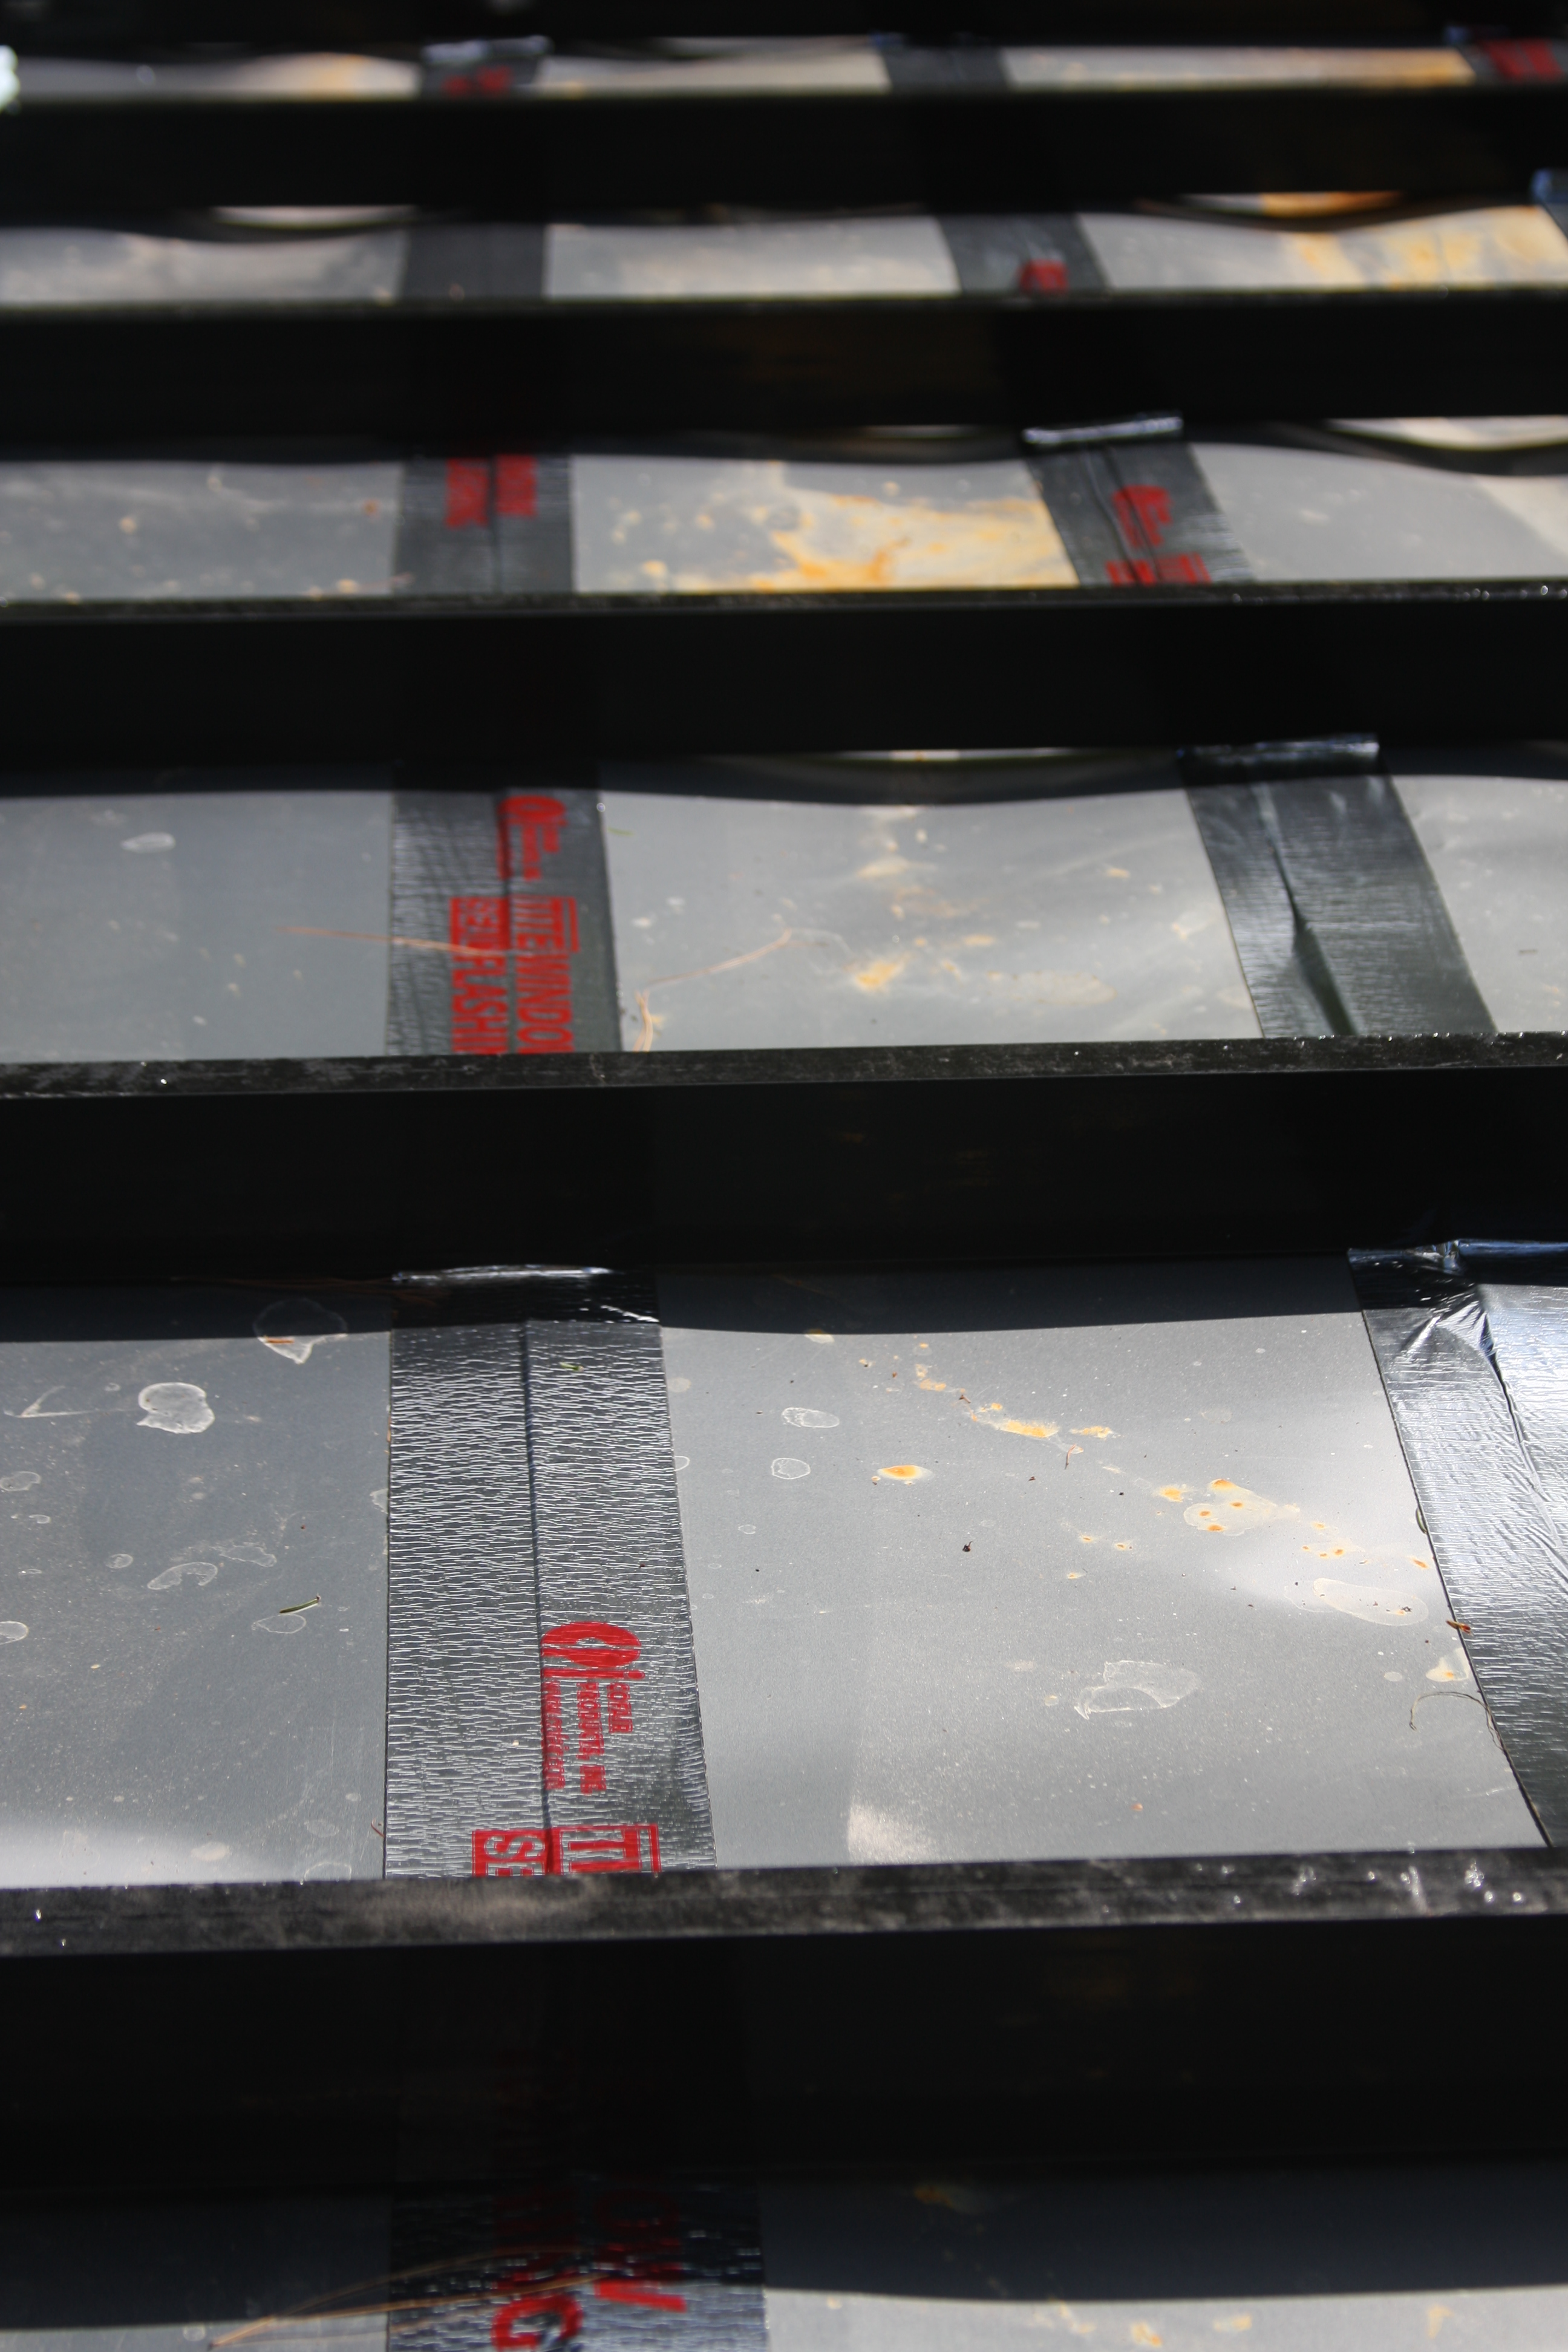 Flashing tape can be found in the roofing section of a home improvement store. It’s weatherproof tape that goes around a window or a door frame when you’re building. One side is shiny so that if you tape something up and then leave it exposed to the weather before getting around to putting on the siding, you won’t ruin the weatherproofing of the tape. Fancy, eh?