If I’m starting to sound like a broken record, it’s because air movement is a big deal in our little house. We seal gaps because it makes for less moisture coming in from the outside and fewer drafts, AKA a warmer, drier house with less chance of mold. So we’ve spent a fair amount of time doing this to the inside as well as the outside. We air sealed the inside of the house by spreading silicone sealant into gaps and cracks — most notably in the large spaces around the windows and doors. If the gap was wider than 1/2″, we filled it with backer rod first, and then spread sealant over it. Side note: if you ask for backer rod at Home Depot, there’s an…
Posts from the “Walls” Category
In going over the photos for the trim post, I realized that we never mentioned the black strips that we put over the Blueskin under the siding. This is a product called Cedarvent. It’s basically strips of plastic that are corrugated like cardboard. We’re using it here kind of like a rain screen: the siding repels most of the water from the house, but in case any rain gets behind the siding we want it to be able to drain away. This is where Cedarvent comes in. It makes the siding sit away from the Blueskin by about 3/16″ and allows the water to roll down without soaking into the back of the cedar. We’re not pushing the product or anything. We purchased it outright and…
Categories: Little House, Walls
One of the things that Seth has been saying all along is that trim makes the style of the house. He’s said it about both the inside and the outside. It’s a good thing he’s been so adamant because when it comes to details like that, I don’t really have an opinion. Isn’t that terrible? For me, aesthetics generally take a backseat to price, so I expected to wing it when it came time to do the trim. Seth, though, has had an idea in mind of building a house inspired by the Craftsman era of design: 1920s bungalows full of simple lines, natural light, and beautiful wood. We looked at pictures online for months. Truly one of the nicest rabbit holes we’ve followed in…
Categories: Little House, Walls
Tagged: tiny house, tiny house build, tiny house design
Way way back, almost a year ago now, we purchased cedar clapboards for the tiny house. Sheesh, was it really that long ago? Yes, Instagram tells me it was last February. We got the clapboards delivered with the intention of staining them over the course of the winter so that we could install them in the spring and summer. Time ran away from us, and it was a while before we got the siding up and running. As per usual, the research phase made up the bulk of the delay. We wanted to find an eco-friendly coating for the siding, one that would bring out the beauty of the wood, protect it from the elements, and be ok for the environment and for people with…
Categories: Little House, Walls
So this thing happened this one time where we moved the tiny house and two of our beautiful walls went from plumb to out of plumb. One shifted by an inch over nine feet, the other by a half inch over the same. To the practiced eye, the house looked bow-legged. I consulted with one of my friends and coworkers, a resident building expert with more than 60 years in the business. “Oh no big deal,” he said, “Just drill a hole in the two walls, use a come-along and ratchet it in, put up your collar ties, and release the come-along. Make sure you tighten them a bit more than they need because they’ll snap back when you let’em go. The collar ties’ll…
Categories: Little House, Walls
 High-res version
When it comes down to it, we’ve probably spent the most tiny house research time on building envelope systems. The building envelope is what protects the inhabitants of the house from wind and weather, and it’s made up of siding, air barrier, sheathing, and insulation. And if you ever talk to any architect about this, they’ll tell you that building envelope science is a murky world of half-truths and maybes. Folks, this ain’t easy.
Using information from articles like the ones here, here, here, here, and here, we determined that we want a vapor-permeable air barrier to wrap around our house. This will keep drafts and water out, but will allow water vapor to diffuse in and out of the house. We decided against a vapor barrier on the inside of our walls thanks in part to the sheep’s wool insulation we plan to use. We came up with these decisions because we’re concerned about water condensation and mold buildup in our tiny house, which are issues for tiny houses in general, but also for Christine in particular. We’re happy to talk about this in more depth! But frankly, building envelope science doesn’t interest most people, so if you want to know more please ask in the comments.
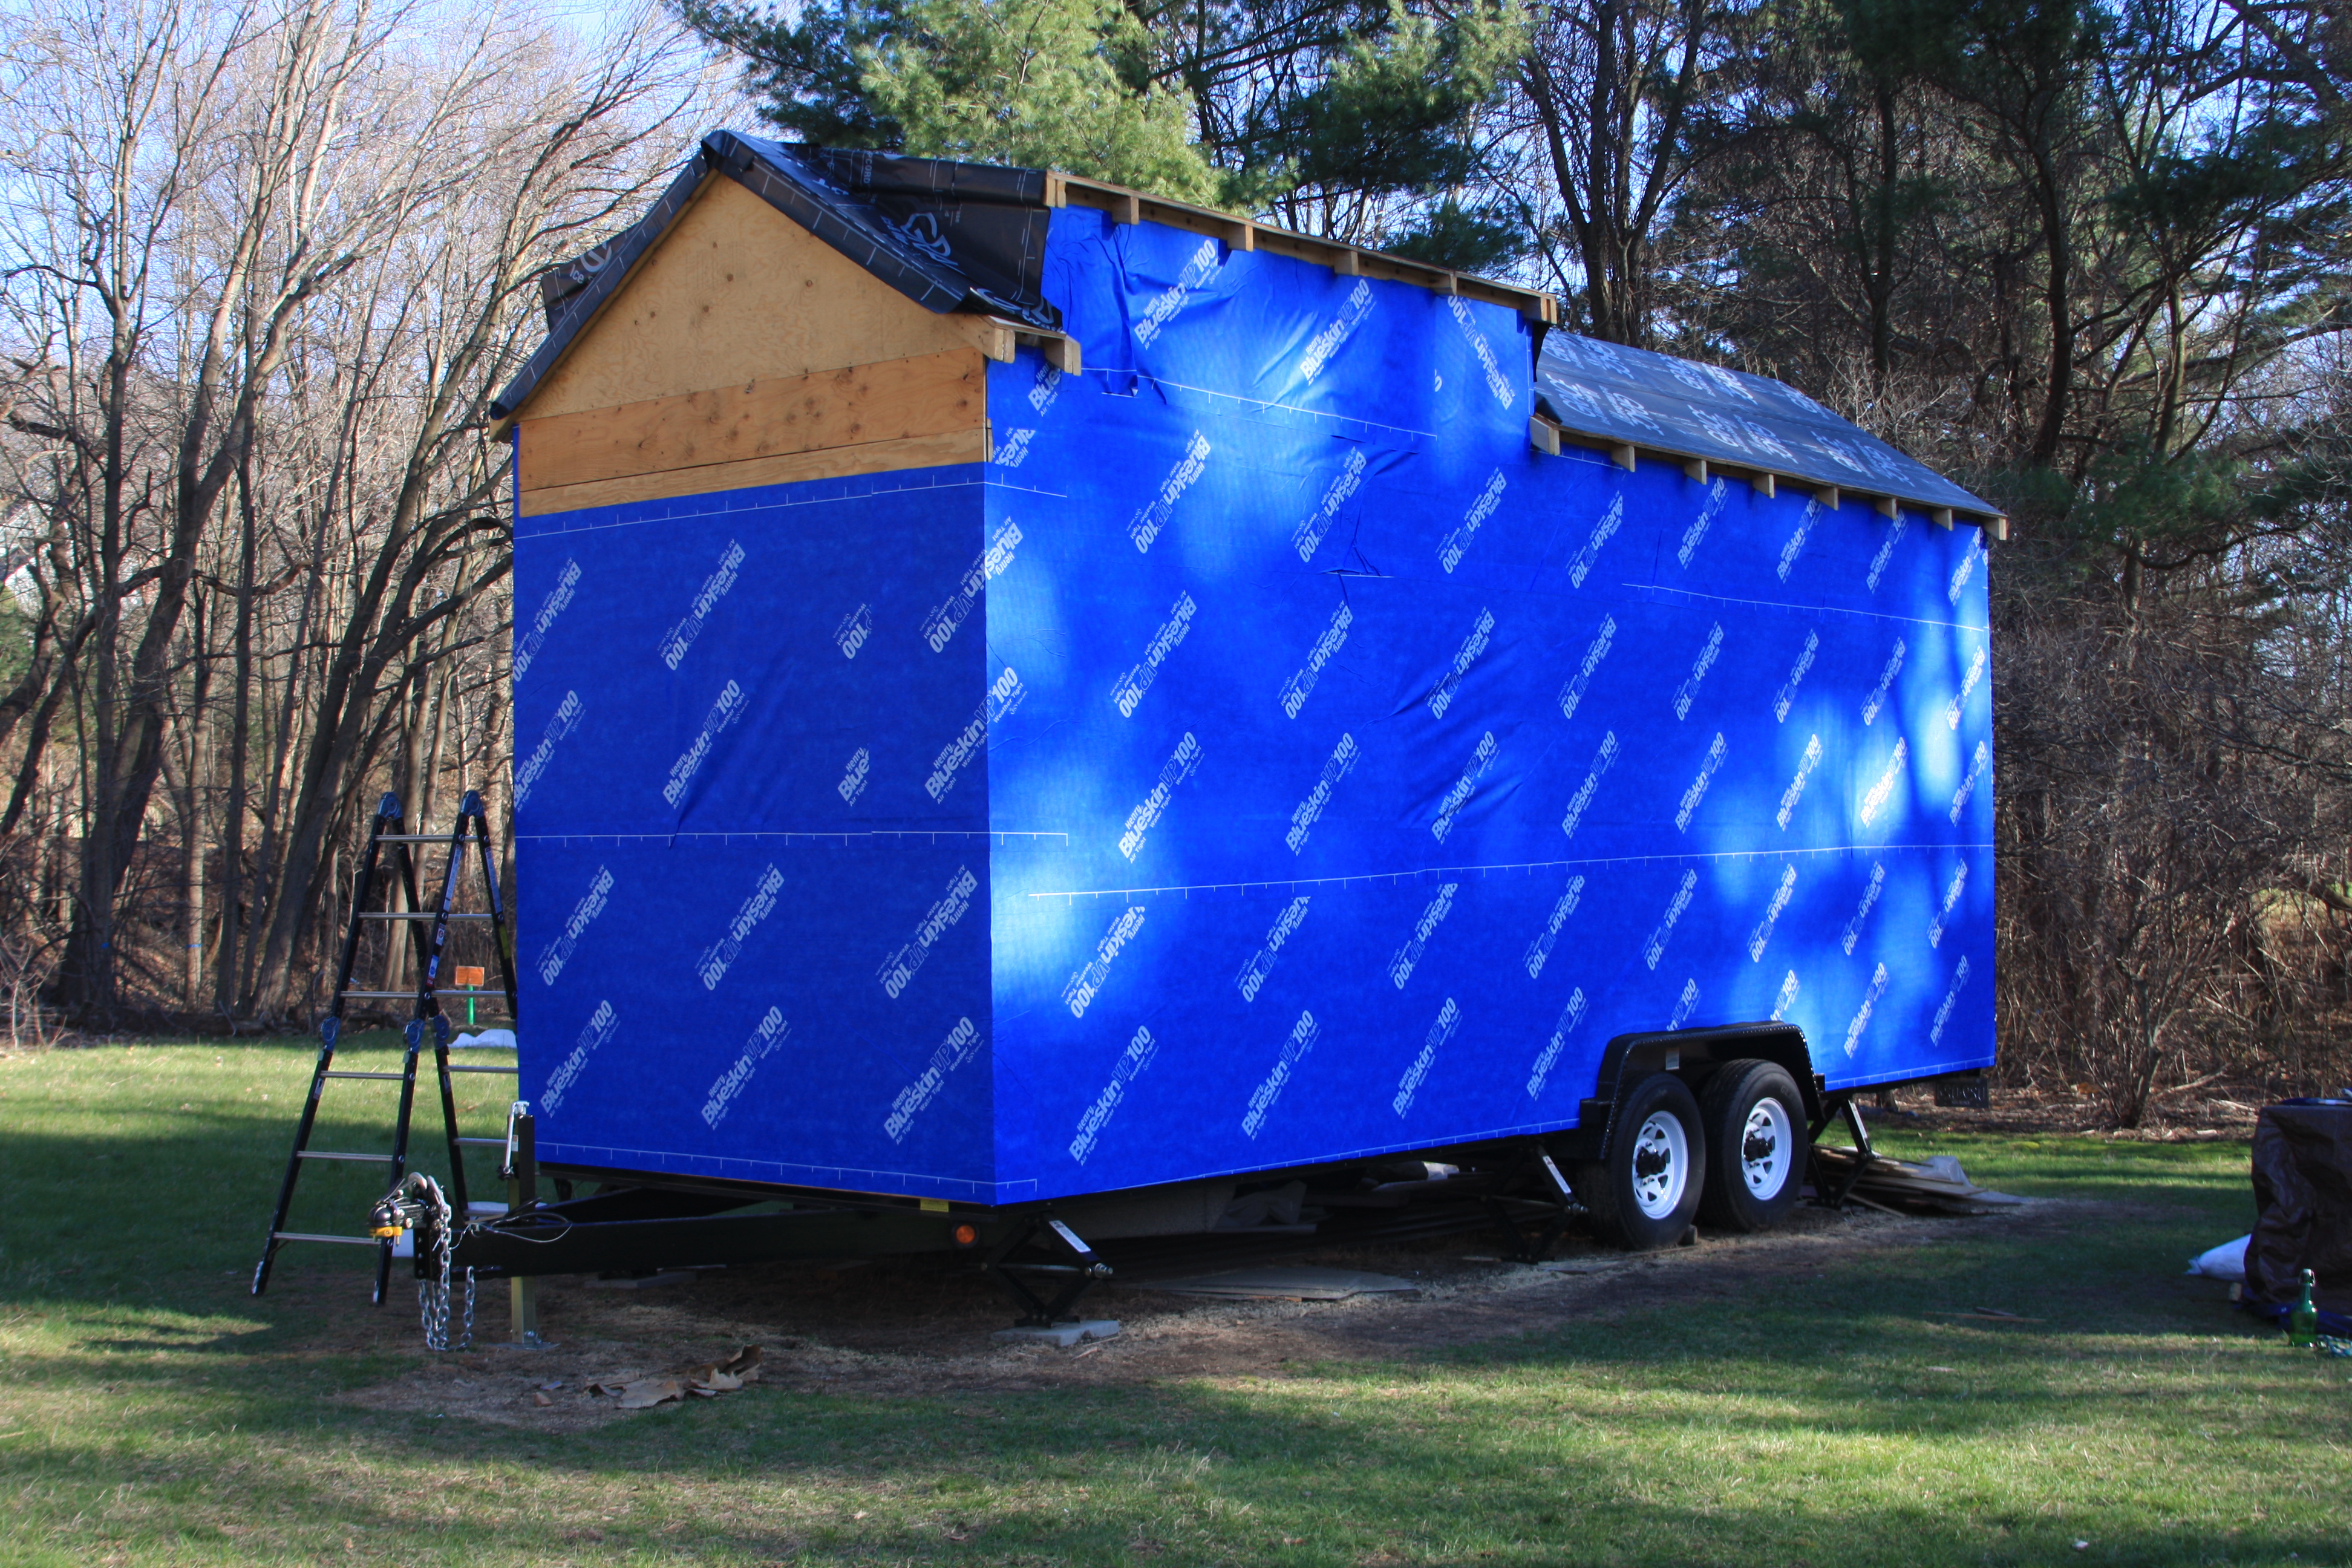
We decided to use the product Henry Blueskin VP100, which is a residential grade vapor-permeable air barrier that is locally available. It’s self-adhesive, like a giant sheet of sticker, and it seals itself at the seams.
For our first step, we routed out each window opening, and then spent the better portion of two weekends sticking the Blueskin to the outside wall sheathing.
The difference it made to the inside of the house was noticeable immediately. Stepping into the house at mid-morning this past weekend, we realized the house felt stuffy. And this with a gaping hole where the door goes! No more airflow through the cracks between our sheathing. I’d call that a success.
One area of the house where we paid particular attention was at the wheel wells. We left a 1/4″ to 1/2″ gap between the plywood and wheel wells of our house. This is so water can’t condense on the metal wheel wells and then be absorbed into the plywood, making for a weak point in the walls where mold can occur. However, we also wanted to make sure water couldn’t migrate into the house through this gap and soak our insulation.
This is another problem particular to tiny houses. Tumbleweed doesn’t address this with their trailers (although they might in their house plans, I’ve never checked), but there is a trailer company that has an optional welded flange all around their wheel well. You’re supposed to build your walls so that the plywood sits just on the outside of the flange, which prevents water from creeping in to your house. It’s a pretty cool solution, but it’s one that we didn’t have, and I’d still be concerned about water condensation where the metal touches the plywood.
We opted to use EPDM rubber roofing flashing tape at our wheel wells. It feels like a long rubber sticker, and we stuck it to the wheel well and then up onto the walls. Our housewrap came down over the EPDM. We’re not sure how it will hold up long term, but it seemed like a good option, and it provides a thermal break between the metal wheel well and the wood walls. We’ll see how it goes.
You can see that it pulled away a little bit from the corners after a week or so on the trailer, so we did have to cut and patch it once already. But overall, we’re pleased with how it came out. We’ve got high hopes!
Next up is roofing, and after that will be windows, the door, and siding. And then we can start work on the inside. Is that supposed to be the easy part?
All links in this post are non-affiliate.
Tagged: air barrier, house wrap, tiny house, tiny house build
